


I love burlap fabric because it just makes everything feel so homey. I decided to make some burlap pillows as gifts this year for Christmas. I was going to stencil the pillows but I was absolutely tickled to discover the secret of freezer paper printing! With this easy tutorial, you can use freezer paper to turn a piece of fabric into a printable piece of fabric. My printer has a width limitation of 8.5 so I cut a piece of burlap into a 8.5 x 13 piece. I ironed the freezer paper on to the burlap and trimmed the edges by drawing a straight line with a pen and a ruler on all four sides. This helps to ensure that the burlap will not fray when you put it in the printer.
You can use any kind of graphic program to create the lettering that you want to use on the pillow. The pillow shown has our family name on it but my mind quickly started working overtime imagining all the different pillows I could make. I even made a "Grandma" pillow for my Mom with the names of all her grandchildren on it. She loved it! You can virtually print any type of lettering or design that you want on to a light to medium weight piece of fabric. I didn't take as many pictures of the whole process as I should have. I was just so excited when I discovered this secret that I couldn't slow down until I saw for myself that it would actually work. For another friend, I created a "What a Difference a Day Makes" pillow that had hers and her husbands birthdays, her wedding day and the day that their son was born. You can create birth announcement pillows with this technique, monogrammed pillows, or even favorite sports teams and hobbies. After you have ironed the freezer paper onto the fabric and run it through the printer, just peel the freezer paper off the fabric and your printed fabric is all ready!


I used some black and white ticking fabric that I had leftover from a previous project. I cut out one large piece (14x21) of fabric for the back of the pillow and two smaller (14x6)pieces of fabric for either side of the burlap. Using a half inch seam allowance on the sewing machine, I ended up with a pillow that was approximately 12 by 20. Start out by sewing the two smaller pieces of fabric, one at a time to the center piece of burlap. Make sure you place the right sides together and sew on the wrong side. Press the seams with an iron to flatten. Once you have the three pieces sewn together, get the large piece of fabric that makes up the back of the pillow and once again place the right sides together and sew on the wrong side. Leave about a four inch opening to stuff the pillow. Once the pillow is sewn, turn it right side out and stuff with batting from your local craft store.
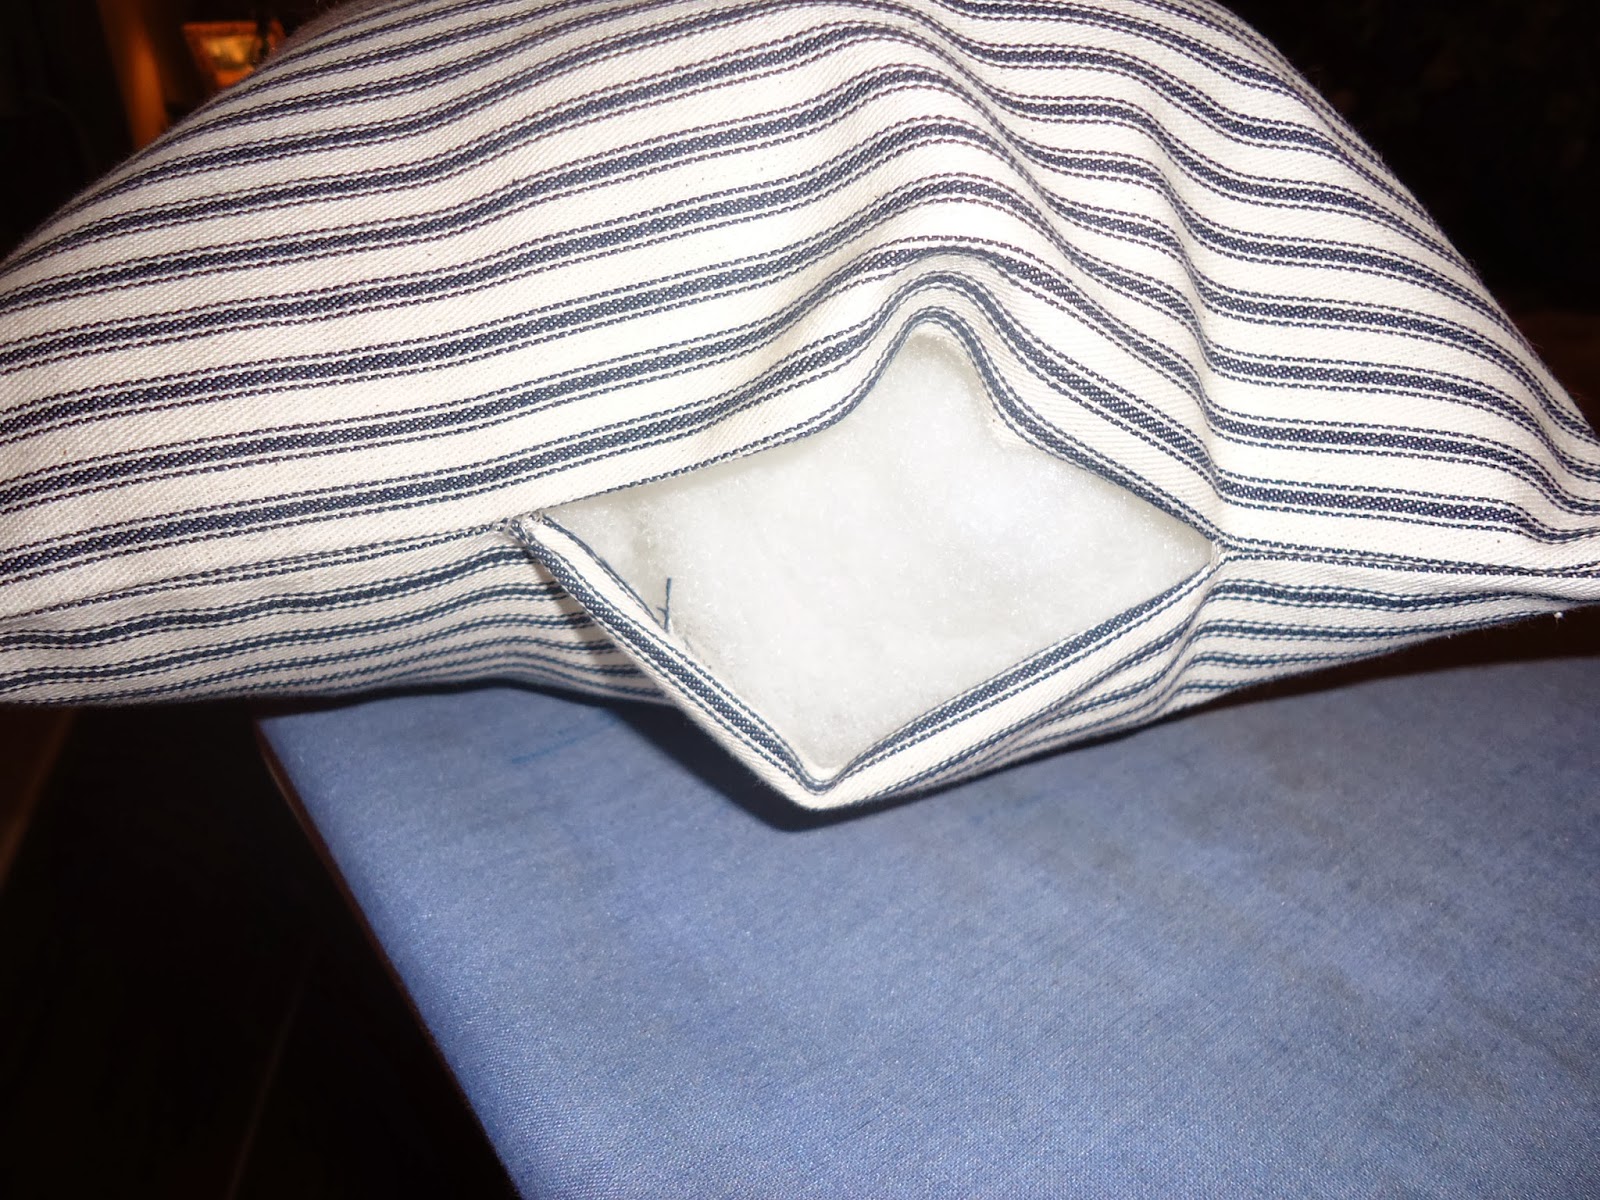
After the pillow is stuffed, sew the seam shut with a straight stitch or by hand for a less conspicuous seam. This makes for a really personalized gift! I hope you enjoyed the tutorial and I would love to hear about any pillows or other projects you made using this technique!


No comments:
Post a Comment