

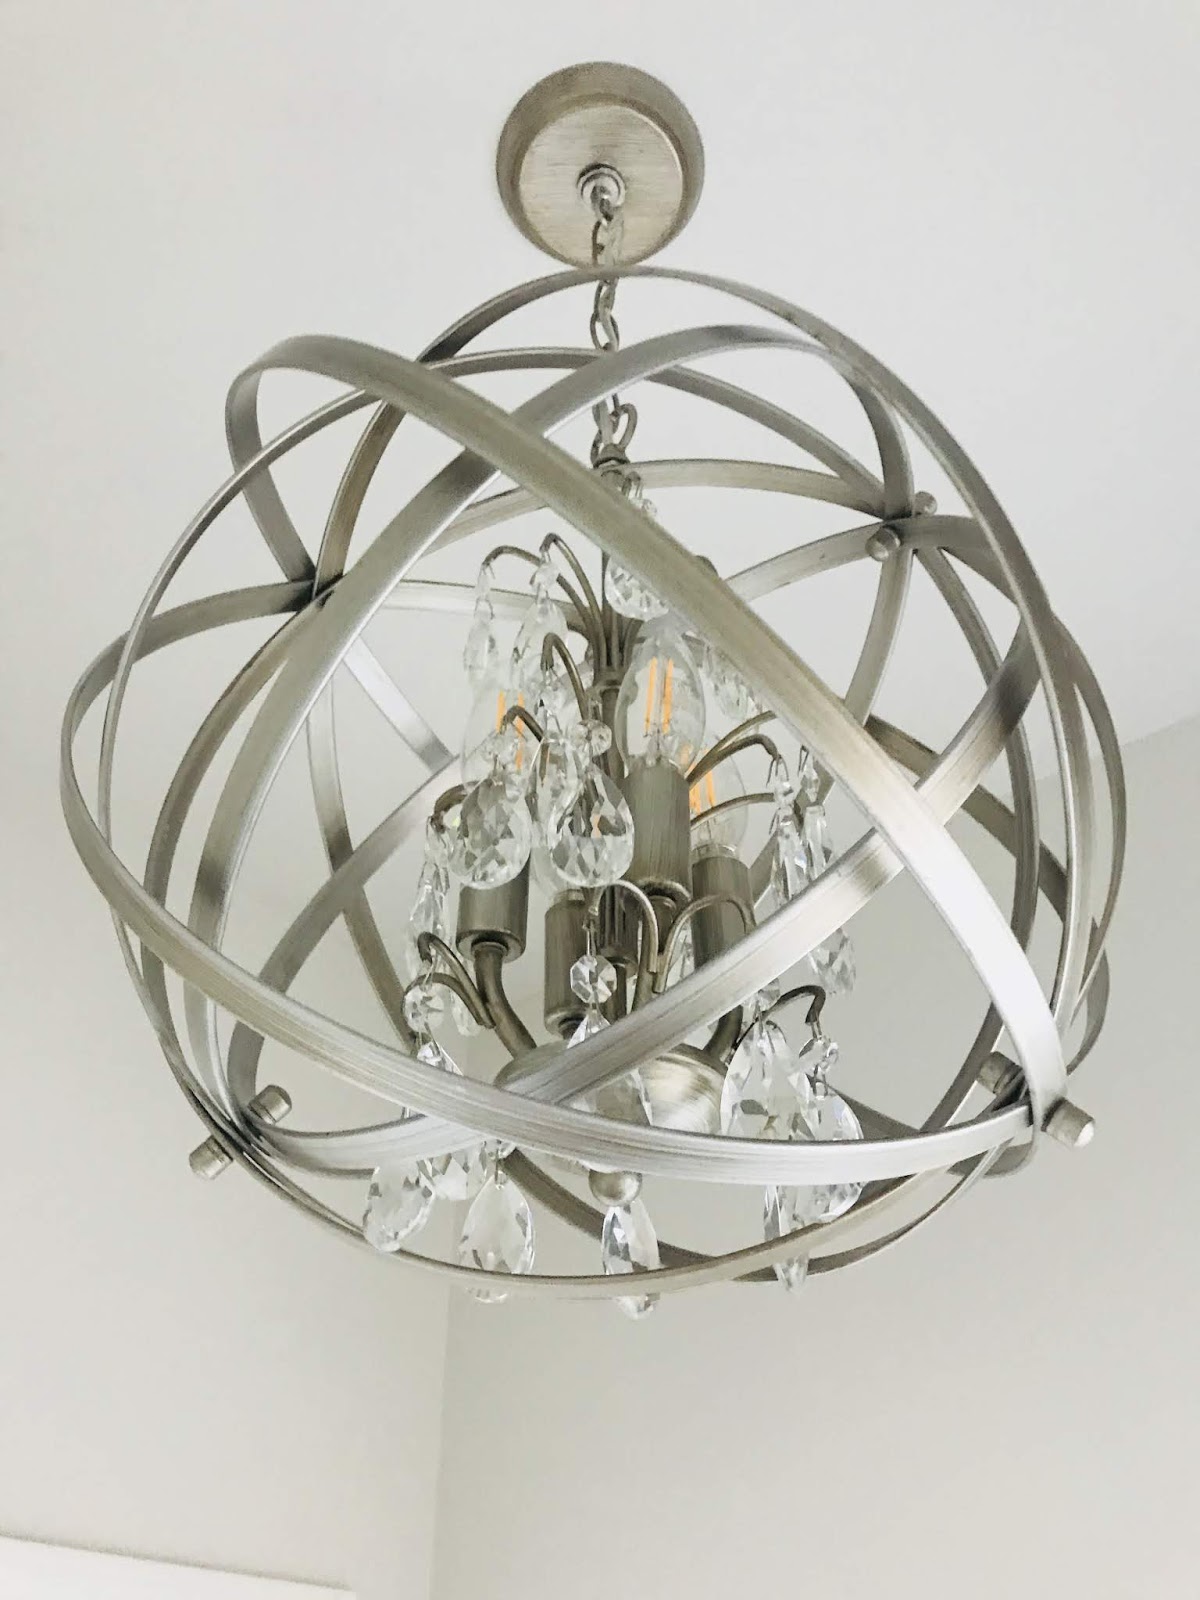
We are loving the bathroom makeover that we recently completed. It happened by accident more or less when a pretty chandelier that I purchased for another room ended up being too small for the space. I just loved the sparkly little fixture and knew that I needed to find a space for it somewhere in our home. I finally decided that it was the perfect size for our powder room so I enlisted the help of my very talented hubby to install the light fixture in the space. We already had a vanity light above the mirror in our powder bath but it was installed by the previous home owners and it never really reflected my own personal style. Hubby removed the dated fixture, patched the sheet-rock, ran wiring through the ceiling and made a new home for my beautiful chandelier! I love that man!

Because I very often get so excited about a project that I neglect to properly document the progress with photographs, please forgive the fact that I only have this one photo of what it looked like before the makeover. Notice the faux paint on the wall and know that it was quite the thing ten years ago. I knew that it needed updating but I was waiting for the inspiration to come and after the chandelier was installed, I finally had the inspiration and vision of how I wanted to transform the space. This pretty little fixture came from Overstock and was a bargain at less than $150.
Once the sheet rock was patched and sanded we gave the walls a fresh coat of paint and also re-painted the bead board with a crisper, cleaner white. I went with 50% Edgecomb Gray by Benjamin Moore on the walls which is such a beautiful, neutral color that I am now asking myself what other walls I can beautify with it's presence! It's also a great ceiling color if you want something a little softer than a stark white. I had originally planned to stencil the room but after it was painted, I just really enjoyed the crisp clean look of the space. The shelf and basket were items that I already owned but the pretty mercury glass vase was thrift store find for only $5. I added some stems left over from a wreath project that I did a few months back. I love combining different textures and materials and I think the weathered wood frame pairs beautifully with the glass vase. In that pretty little frame is a photograph of my daughters sitting in the bluebonnets back when we lived in Texas. Here's a shout out to any of my Texas friends who might be reading this.

Well, after the walls and chandelier had been refreshed, I looked at our tired old vanity and knew that it could use an update as well. I scoured the internet for a beautiful rustic yet elegant vanity and could not find exactly what I was looking for. I happened upon this vanity from Restoration Hardware that was close to what I had in mind but I could not justify the $2295 price tag for a single vanity.

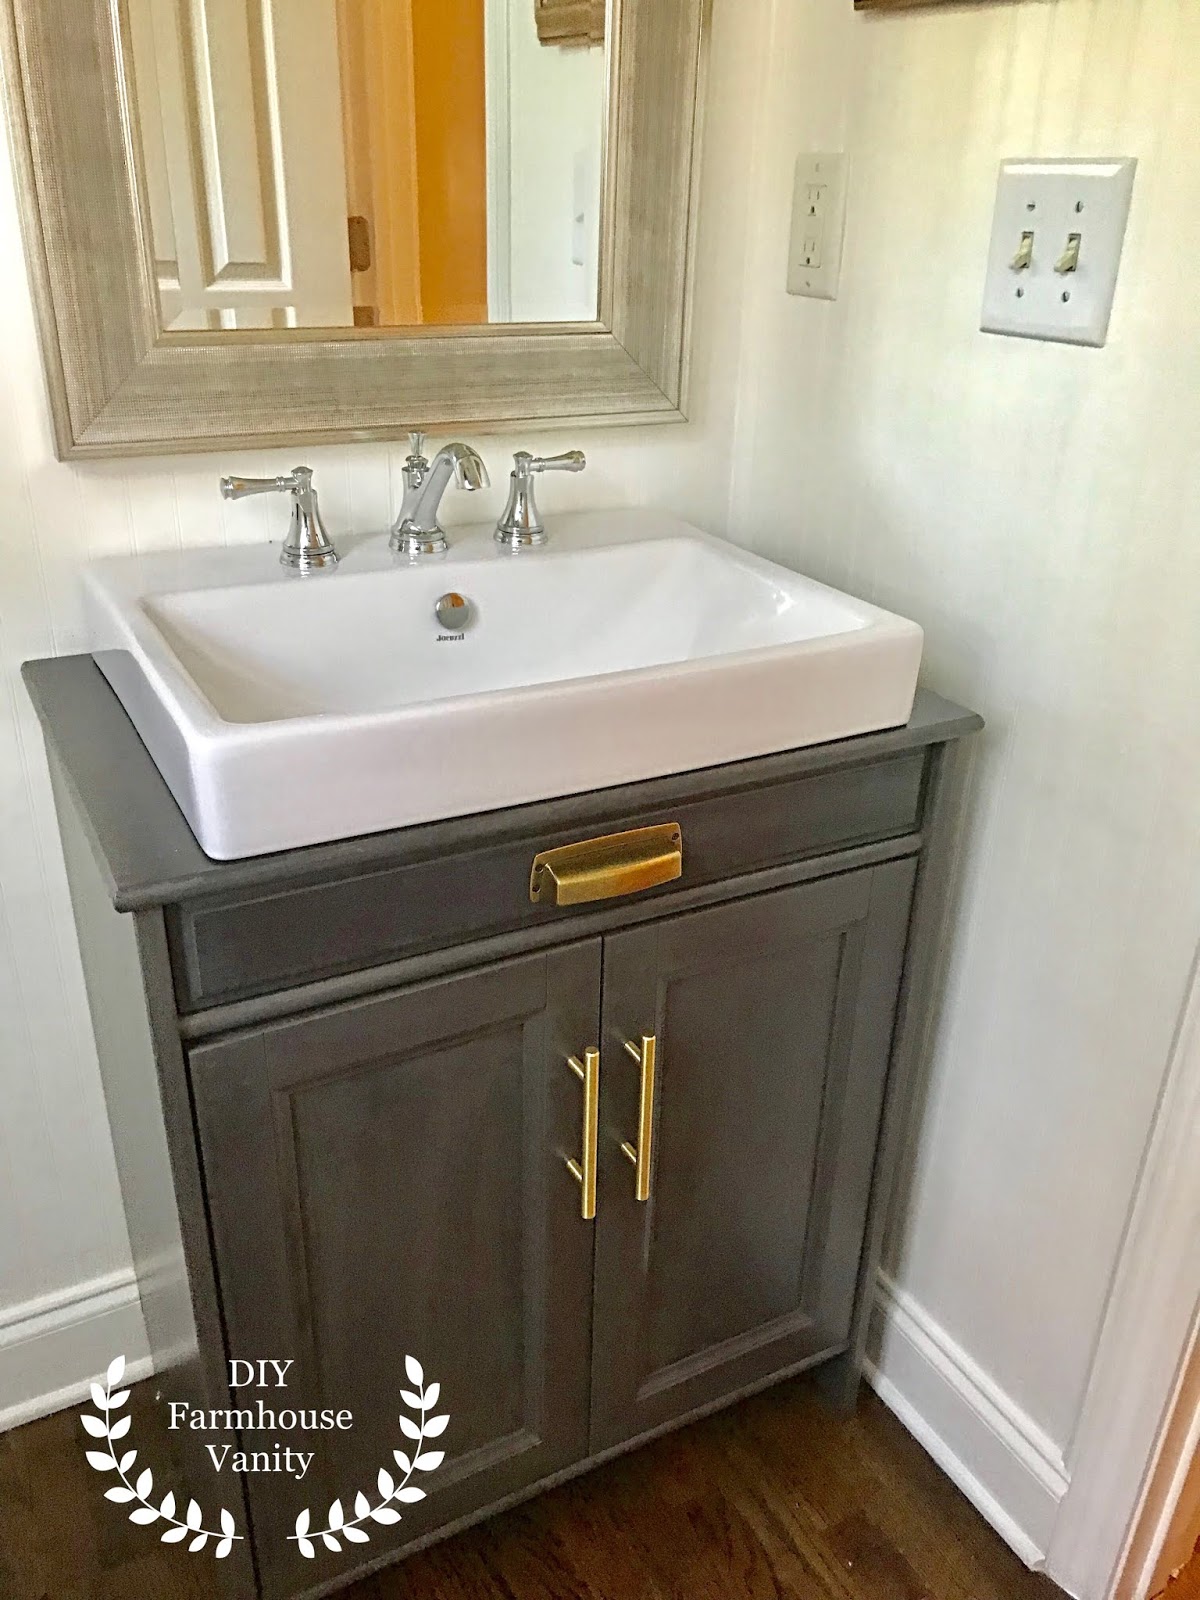
When online searches for my perfect vanity came up blank, we resorted to searching local thrift stores for something that we could transform into what we had in mind. When I say we hit the jackpot, I really mean we hit the jackpot. We found a pretty little solid wood cabinet at the Salvation Army and we paid a whopping $59 dollars to make her our own. We took her home and in true Charlie Brown style, we turned her into the gem that she was destined to be. I used General Finishes Gel Stain in Java at first but then did a complete 180 and decided to go with a weathered gray finish. To achieve this effect I mixed some General Finishes gray gel stain with a bit of the General Finishes Java Gel stain and I came up with a warm weathered gray tone. To see more detail about that transformation, click here

Once the vanity was painted, hubby installed the farmhouse sink that we purchased from Lowes for the very attractive price of only $99. It got great reviews and many of the reviewers had used it to convert a cabinet into a bathroom vanity just like we were attempting to do. The sink comes with a template that shows you the exact size of the space that you need to cut out for the sink.


We chose the Delta Haywood Faucet for the vanity and got a great day on that on Amazon for $83.29. It is a very versatile looking faucet that would pair well with a variety of design styles from farmhouse to contemporary. We mixed a bunch of different metals for this makeover because although I loved the idea of brass euro handles, I wasn't ready to embrace brass towel bars, faucets or other accents. It's only been a few years since we updated all the brass in our Master Bathroom. I think it's okay to mix metals and everything doesn't always have to be matchy-matchy.
For the hardware we went with these Brass Euro Bars and I couldn't be happier with how they complimented our little thrift store cabinet. They were also from Amazon and were a bargain at only $10.67 for both.

The cup pull came from Home Depot and has a slight Industrial Vibe to it. It was the perfect finishing touch as it covered the holes left by the old hardware that we removed. The price tag for that shiny piece of metal was $6.48.

So the total price tag for this makeover including paint was $417.23. That is less than a fourth of the price of the Restoration Hardware vanity alone. Thanks for checking out my blog and allowing me to share my bathroom makeover with you. I hope this post inspires you and gives you the confidence to tackle that one project that has been in the back of your mind. If you found my blog through an online search, be sure to check me out on Instagram. I can be found under the handle @centsavvylady Have a great week!


No comments:
Post a Comment